Tuesday, September 28, 2010

The Best Rice Krispy Treats - The Fruity Pebbles Kind


Well let me just warn you, this isn't going to be the most sophisticated of my baking posts but I'm not always the most sophisticated person I know either, so I decided to have it.  I have been making fruity pebbles treats for years now.  Do I like them BETTER than Rice Krispy treats? Eh...I mean...well, yes.  Basically, because they are colorful and they taste like candy, so I am definitely going to go with a yes on that one. I also ate the whole pan in about 3 days.  Anyway, the recipe is super simple.  It can be made in the microwave.  What's more to be said?

fruity pebbles treats.
6 cups Fruity Pebbles (don't use off brand, they taste weird)
1/4 cup (or 1/2 stick) butter, unsalted
1 package Kraft Marshmallows (I used the big ones but a marshmallow is a marshmallow so use the small ones if you want)


  1. Butter or cooking spray an 8 x 8 inch baking pan (you can use any size really, just form the treats to only use half the pan if you have a bigger pan)
  2. Melt butter and marshmallows together in a large bowl in the microwave for 4 minutes, removing half way through to stir.
  3. Add fruity pebbles and stir until fully incorporated
  4. Press into prepared pan with the back of a large spoon.
  5. Refrigerate for about 15 minutes and eat away (or eat them warm but they taste better chilled)
Friday, September 24, 2010

Homemade Apple Dumplings


I went to the York, PA fair 2 weeks ago (because I'm that cool), mainly just to get cotton candy because I'm slightly obsessed but also because maybe I wanted to win a golfish.  Low and behold, I got a goldfish and somehow killed it in less than a week.  RIP Nugget.  As brutally upset I am about the death of Nugget the Goldfish, I AM pretty excited about the fresh made Apple Dumpling I got for my mom.  I brought it to her while she was sitting there at her booth trying to sell water coolers and watched her eat the whole thing as I tried not to drool all over it.  I was trying to be "good" and not eat apple dumplings to keep my ass at a manageable size but that didn't last long because I was craving one so bad that I just decided to make my own apple dumpling when I got home.  This was basically my own recipe and I apologize for the absence of precise measurements but I was so ravenous for an apple dumpling that I just threw sweet stuff and cinnamon together without thinking much about it.

I made my own crust for the outside but I would probably recommend just buying pre-made pie dough.  My pie dough is fabulous in pies but it was a little to flaky for the dumpling I think.  It needs to have a little bit more of a chewy texture I think, which is generally what you get in a pre-made pie dough (plus its easier).  So anyway, I had a 9 inch pie dough which covered 2 apples and I had some extra left.  It probably could have covered 3 apples pretty nicely.

I used Macintosh Apples which actually worked out pretty well. You can probably use any tart baking apple but I think Granny Smith would be really good too.  Just don't use red delicious because they will collapse when you bake them.

home made apple dumplings.
2-3 medium sized apples (macintosh or granny smith, I used macintosh)
1 9-inch pie dough (I would recommend buying a pre-made or testing out your own recipe)
3 TBSP butter (unsalted, softened)
2 tsp of cinnamon (or more)
1/4 cup light brown sugar
1 Egg White
Turbinado or other large grained sugar for decoration
Cinnamon for decoration

  1. Preheat oven to 425 degrees F.
  2. Peel and core apples, set aside
  3. Combine butter, cinnamon and brown sugar.  Mix together thoroughly.  It will sort of look like big crumbs.
  4. Using a pizza cutter, cut dough into squares.  I'm not going to give you a size here because apples are different sizes, but ultimately, you want to be able to pull the 4 corners of the square up and meet them in the center of the top of the apple.
  5. Place dough squares in a greased casserole dish or on a baking sheet.
  6. Place cored apples, one each on each of the dough squares.
  7. Fill the center of each apple with the cinnamon/butter/sugar mixture.
  8. Pull the 4 corners of each square up over the top of the apples and pinch in the center.  Pinch the tops of the sides of dough that are sticking out to form a seem and press them lightly against the sides of the apple.
  9. Brush each apple with egg white and sprinkle with sugar and cinnamon.
  10. Bake apples for 10 minutes at 425 degrees or until golden brown.  
  11. Reduce oven heat to 400 degrees and bake for 20 minutes longer.
Cinnamon Sauce
1/4 cup brown sugar
3/4 cup water
2 tsp cornstarch dissolved in 2 tsp water
1 TBSP of cinnamon (or more, or less, ha)
  1. Combine brown sugar, water, starch and cinnamon in a small saucepan.  
  2. Bring to a boil at medium heat.  Reduce heat and let cook until desired thickness.
  3. Cover and keep warm.  
  4. Drizzle over apple dumplings after they are done baking. 


Thursday, August 19, 2010

Homemade Pop Tarts


If you haven't heard, Kelloggs opened a Pop Tart store in Times Square of New York City.  This is exciting news. They are going to feature things like...Pop Tart "sushi".  I think that has something to do with pop-tart wrapped in a fruit roll-up? Anyway, it got me craving pop tarts and found this recipe for Homemade Pop Tarts on Smitten Kitchen website.


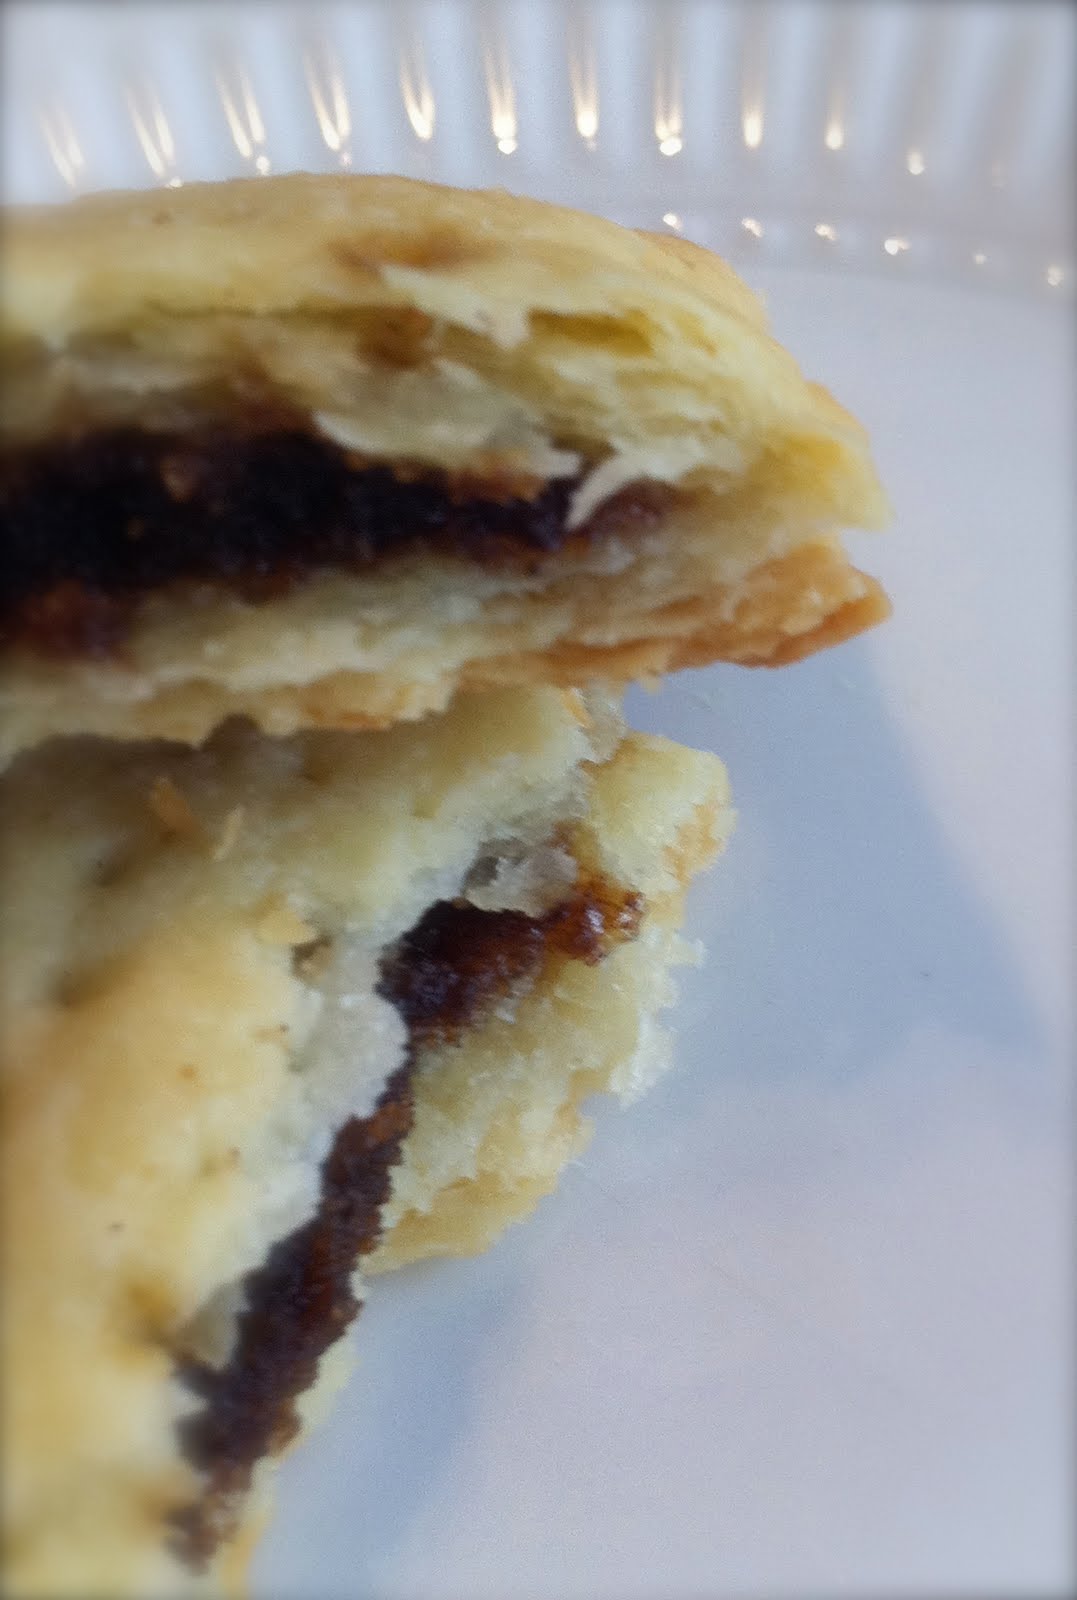
These turned out absolutely amazing.  I made cinnamon sugar pop tarts (my favorite) and Cherry pop tarts. They were a big hit with my family and boyfriend.  I would recommend eating them cold, I liked the pastry part a lot better when they were cold, but to each their own.  The pastry part was buttery and flaky and the center...well, that cinnamon sugar center sent me on a brief trip to heaven.

Homemade Pop Tarts

Pastry
2 cups (8 1/2 ounces) all-purpose flour
1 tablespoon sugar
1 teaspoon salt
1 cup (2 sticks or 8 ounces) unsalted butter, cut into pats
1 large egg
2 tablespoons (1 ounce) milk

1 additional large egg (to brush on pastry)

Cinnamon Filling (enough for 9 tarts)
1/2 cup (3 3/4 ounces) brown sugar
1 to 1 1/2 teaspoons ground cinnamon, to taste
4 teaspoons all-purpose flour
1 large egg, to brush on pastry before filling

Jam Filling
3/4 cup (8 ounces) jam
1 tablespoon cornstarch mixed with 1 tablespoon cold water


To make cinnamon filling: Whisk together the sugar, cinnamon, and flour.

To make jam filling:

1.) Mix the jam with the cornstarch/water in a small saucepan.
2.) Bring the mixture to a boil, and simmer, stirring, for 2 minutes.
3.) Remove from the heat, and set aside to cool. Use to fill the pastry tarts.

Make the dough:

1.) Whisk together the flour, sugar, and salt.

2.) Work in the butter with your fingers, pastry blender or food processor until pea-sized lumps of butter are still visible, and the mixture holds together when you squeeze it. If you’ve used a food processor, transfer the mixture to a large bowl. Whisk the first egg and milk together and stir them into the dough, mixing just until everything is cohesive, kneading briefly on a well-floured counter if necessary. *This is the easiest method, if you have a food processor, this dough will be made in no time.

3.)Divide the dough in half (approximately 8 1/4 ounces each), shape each half into a smooth rectangle, about 3×5 inches. You can roll this out immediately or wrap each half in plastic and refrigerate for up to 2 days.

Assemble the tarts:

1.) If the dough has been chilled, remove it from the refrigerator and allow it to soften and become workable, about 15 to 30 minutes.

2.) Place one piece on a lightly floured work surface, and roll it into a rectangle about 1/8″ thick, large enough that you can trim it to an even 9″ x 12″. [You can use a 9" x 13" pan, laid on top, as guidance.] Repeat with the second piece of dough. Set trimmings aside.

3.)Cut each piece of dough into thirds – you’ll form nine 3″ x 4″ rectangles.

4.) Beat the additional egg and brush it over the entire surface of the first dough. This will be the “inside” of the tart; the egg is to help glue the lid on.

5.) Place a heaping tablespoon of filling into the center of each rectangle, keeping a bare 1/2-inch perimeter around it.

6.) Place a second rectangle of dough atop the first, using your fingertips to press firmly around the pocket of filling, sealing the dough well on all sides.

7.)Press the tines of a fork all around the edge of the rectangle. Repeat with remaining tarts.

8.) Gently place the tarts on a lightly greased or parchment-lined baking sheet.

9.)  Prick the top of each tart multiple times with a fork; you want to make sure steam can escape, or the tarts will become billowy pillows rather than flat toaster pastries. Refrigerate the tarts (they don’t need to be covered) for 30 minutes, while you preheat your oven to 350°F.

Friday, August 13, 2010

Cotton Candy Cupcakes


Carnivals. Ferris Wheels. Funnel Cakes. Cotton Candy. Cupcakes.  Oh yea. Thats right, I said it...cotton candy cupcakes.  In celebration of summer and to cherish my last week of freedom until school is going to take over my life, I created this fabulous cotton candy cupcake.  Okay, I didn't really create it but sort of.  When my mom and I were on our road trip to Alabama, we stopped at for every possible reason you could imagine.  One of those stops was a Krogers and I found Jelly Belly pudding flavors, one of those being Cotton Candy.  What a fabulous idea.  Whoever thought of cotton candy pudding, thank you.  I think I love you.  The recipe is about as simple as can be but they look and taste fabulous.  They kind of make me happy just looking at them. Here's what you do:

1.) Take a strawberry cake mix, follow instructions on the box for cupcakes. I used Duncan Hines.  I got 23 cupcakes.  Let them cool.

2.) Using the cone method (check out my blueberries and cream cupcake post to see the method) fill the strawberry cupcakes with about a tablespoon of pudding each.  Put the tops back on.

3.) Frost with whipped icing.  I used jarred icing because I was lazy.  I used the whipped kind which turned out perfect because its not as sweet as regular frosting.

4.) Decorate them pretty.
 

Blog Template by YummyLolly.com